4 Steps to Avoid Painting Fails
David Deem
714-997-3486
 A fresh coat of paint can give new life to a home. Whether you’re a seller aiming to impress potential homebuyers, or you just want to change things up, painting is an easy and effective way to revamp your home’s look for relatively cheap. That said, a bad paint job that results in uneven edging, stained floors or peeled paint can inadvertently make a home less attractive, making the whole effort counterproductive.
According to HomeAdvisor, you can avoid common DIY painting problems by taking these four simple steps:
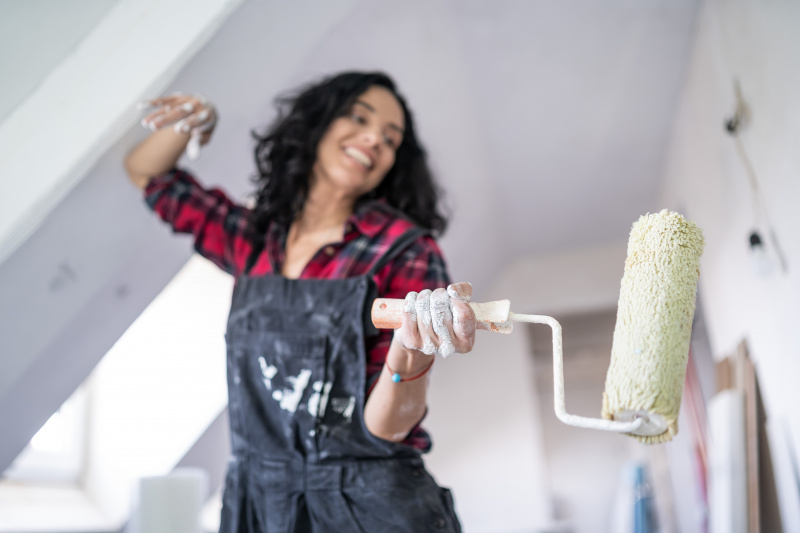
Step 1: Choose the Right Paint. Most paint falls into two categories: water-based and oil-based. Water-based paint is easy to clean up, resistant to fading and works with different materials. Oil-based paint requires more cleanup and prep time, but works well for specialty jobs like painting wallpaper.
Accidentally choosing water-based paint over of an oil-based paint—or vice versa—won’t ruin your painting job. But mixing outdoor and indoor paint will negatively affect the outcome of your project. If you’re unsure which paint to use, ask an employee at your local hardware store.
Step 2: Prep Your Job. Many failed painting projects stem from a lack of preparation. Here’s how to prep like a pro:
- Lay down drop cloths. Set up drop cloths first. Spills, drips and dust are inevitable during a painting project.
- Spread your Spackle. Use Spackle or another paste product to fill in any holes or cracks in your wall.
- Sand the walls. Gently sand your wall before applying any paint or primer. A rough surface will help your paint stick to the wall.
- Prime the walls. Previously painted surfaces don’t need a primer. If you’re working with a raw or rough surface, such as concrete, wood, plaster or drywall, primer is necessary. After your primer has dried, sand it down before adding your finishing paint.
- Tape off no-paint zones. Use painter’s tape to cover areas you don’t want to paint, such as trim, outlets and molding. Run a putty knife over your tape to eliminate any air bubbles.
- Cutting in the corners. Cutting in means painting out several inches from your baseboards, window frames, outlets and door frames. Tackling hard-to-reach areas first will make it easier to paint larger areas later.
Step 4: Paint the Right Way. Begin in the middle of your ceiling and move outward, painting from side to side. After your ceiling is dry, cut in around the ceiling line, windows, doors and moldings. Then, use your roller to paint the rest of your walls.
DRE#01266522
Comments
Post a Comment